osCommerce (open source Commerce) is an e-commerce and can be used on web server that has PHP and MySQL installed. You can simply download on this
site. After you download, you have to unzip and copy to a folder on web server.
The goal of this post is show you how to install osCommerce. I am installing on a virtual machine that works like a web server (LAMP) to simulate real scenario of installation osCommerce.
If you don't know install or configure a web server on Ubuntu, please read this
post or see this
video.
If you already installed LAMP, please following the next steps to install:
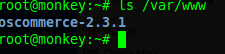
- Go to this site and download "oscommerce-2.3.1.zip";
- Unzip "oscommerce-2.3.1.zip";
- Copy to web server ;
 |
| Step #3 |
- Check out the copy;
 |
| Step #4 |
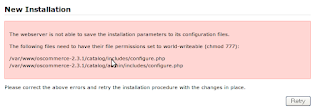
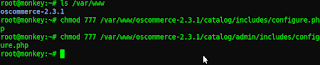
- Modify the permissions on specific folders;
 |
| Step #5 |
 |
| Step #5 |
- After modifying the permissions, will show up the next screen. Press the button "Continue";
 |
| Step #6 |
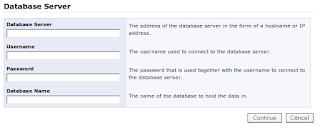
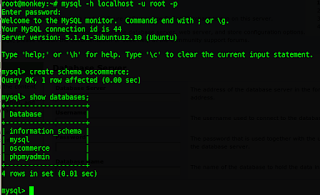
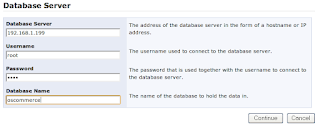
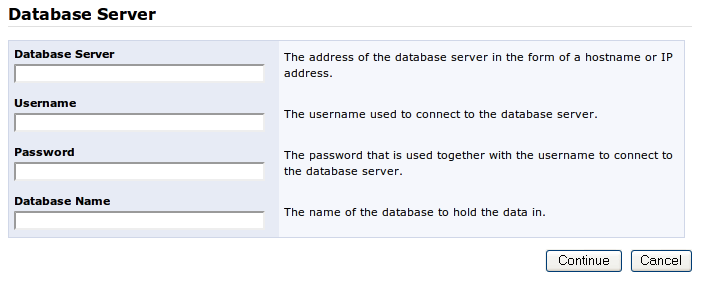
- It will show up a form where you have fill with right values. But I didn't create a database yet. For that, I went to terminal and typed "mysql -h localhost -u root -p" to login MySQL Server. And then, I created database called "oscommerce" with next command: "create schema oscommerce". Finish! Now you can fill form like you can see in third image.
Note: I made a mistake to input "192.168.1.199" instead a right IP address which is localhost or 127.0.0.1.
 |
| Step #7 |
 |
| Step #7 |
 |
| Step #7 |
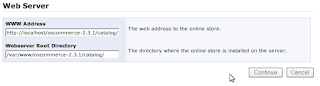
- I agreed with those values by default. If you want to change, you are comfortable to change.
 |
| Step #8 |
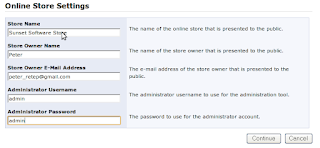
- The next form is about your online store. You have to give information like your online store name, owner name, owner email address, administrator username and administrator password.
 |
| Step #9 |
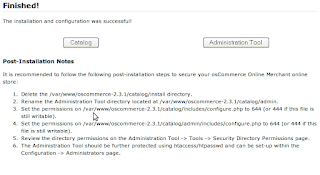
- Please read the post-installation notes. It is very important follow the steps to finish the installation.
 |
| Step #10 |
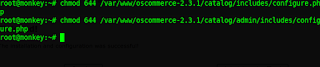
- The next image will demonstrate you how to set permissions on step #3 and #4 according the previous image.
 |
| Step #11 |
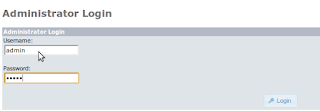
- Then, type in your browser: http://localhost/oscommerce/catalog/admin. This address will drive at administrator page where you have insert administrator username and password.
 |
| Step #12 |
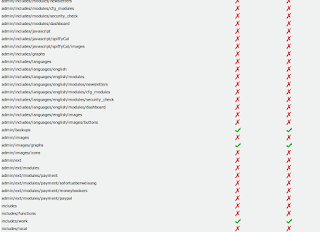
- Follow the path Administration Tool -> Tools -> Security Directory Permissions. This page will list permissions that you have change to with command "chmod 777 ..." like you can see in first image. After you changed permissions, press F5 to reload page to see values changed. Finish! You already finished the part of administration. Now let see the online store.
 |
| Step #13 |
 |
| Step #13 |
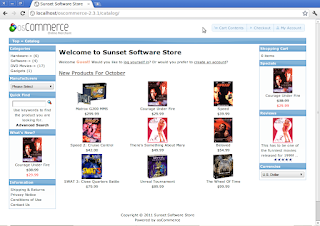
- Type "http://localhost/oscommerce-2.3.1/catalog/" and press Enter. Voilá! Congratulations! You installed your online store!
 |
| Step #14 |
And now you can do anything with your online store and sell anything. Good luck for your sales!


awesome post.. depicts very clear and simple step by step method of installation of OsCommerce.. i bookmarked this page.. thanks.. :) OsCommerce Tutorial For Beginners
ReplyDeleteI unpacked the oscommerce into my downloads folder and did the exact same thing as you described. Though I've done al this, I got the error: CP cannot stat downloads..(etc..) No such file or directory! could you help me fix this?
ReplyDeleteI need more details to help you. Can you post entire message error?
Delete